Are you tired of the look of your kitchen or bathroom cabinets? Are you looking for an affordable way to update the style of your space? Look no further! Painting melamine cabinets is a cost-effective and easy solution to give your cabinets a fresh, new look. In this blog post, we will guide you through a step-by-step process on how to paint melamine cabinets, from preparation to finishing touches. Whether you’re a DIY expert or new to home improvement projects, this guide will provide you with the knowledge and confidence to achieve professional results.
Melamine and Its Unique Characteristics
Melamine, a man-made material highly sought-after for kitchen cabinets, is prized for its smooth finish, robust resistance to dampness, staining, and everyday use. Composed of wood particles compressed together and then coated with a hard-wearing resin and paper finish, which is sealed by heat onto the surface, it’s a long-lasting option. Its resilience makes it well-suited not just for kitchen settings but also for bathrooms, where moisture is prevalent. When considering how to paint melamine kitchen cabinets, it’s crucial to understand these characteristics, as they influence the preparation and painting techniques necessary for optimal adhesion and finish.

Preparing Your Cabinets for Painting
The key to a successful project on how to paint melamine cabinets, including how to paint melamine bathroom cabinets, starts with thorough preparation.
Disassemble Process
First and foremost, ensure that all cabinet surfaces are free from any items, providing a clear workspace. Remove the doors and drawers from the main cabinet body to facilitate easier access for cleaning, sanding, and eventually painting. This disassembly process also includes removing all hardware such as handles and hinges. Keeping track of hardware and where each piece fits is crucial for a smooth reassembly process; using labeled bags or containers can be a great help.
Degreasing the Surfaces
After disassembly, a deep cleaning is essential to remove any grease, grime, or residues that have accumulated over time. A solution of trisodium phosphate (TSP) or a similar degreasing cleaner should be applied with a soft cloth or sponge to thoroughly cleanse each surface. It’s imperative that the cabinets are allowed to dry completely after washing to prevent any moisture from getting trapped under the primer and paint, which could lead to peeling or bubbling.
Sanding to Promote Adhesion
Inspect each component for signs of damage or wear. Small imperfections can be corrected with wood filler, as discussed in the “Sanding and Filling for Smooth Surfaces” section, but any significant damage should be addressed before proceeding further. Once cleaning and repairs are completed, you’re well on your way to transforming your melamine cabinets with paint. Remember, skipping or rushing through the preparation phase can compromise the final outcome, underscoring the importance of diligent prep work in achieving professional-looking results.

Priming to Ensure Paint Adherence
Before diving into the painting process, applying a high-adhesion primer is a critical step. This ensures your paint adheres firmly to the melamine surface, preventing future peeling or chipping. Apply the primer with a foam roller for a smooth, even coat, using a fine-bristled brush for detailed areas around edges and corners. Let the primer dry completely, following the manufacturer’s recommended drying time, before moving on to painting. This preparation creates an optimal surface for your chosen paint, paving the way for a durable and professional-looking finish.
Gathering Your Materials and Tools
Before diving into how to paint over melamine cabinets, assembling the right materials and tools is essential for a smooth process. You will need high-adhesion primer and latex or oil-based paint, suitable for melamine surfaces. Further tools and supplies required include fine-grit sandpaper for smoothing surfaces, wood filler to fix imperfections, a foam roller and a fine-bristled brush for even paint application. A strong cleaner like trisodium phosphate (TSP) and a tack cloth will ensure the surfaces are free of grease and dust. A clear polyurethane sealer may also be needed for added durability. For personal safety, remember gloves, masks, and eye protection. Having all these supplies ready beforehand guarantees preparedness for every project stage.
Choosing the Right Paint and Primer for Melamine
Selecting the ideal paint and primer is a pivotal step in how to paint melamine kitchen cabinets. For primer, opt for a high-adhesion variety specifically designed for non-porous surfaces like melamine, ensuring the paint adheres effectively and reduces the likelihood of chipping. When choosing paint, latex or oil-based paints formulated for cabinetry or glossy surfaces are recommended for their durability. Both primer and paint should be applied in light coats to prevent drips and ensure a smooth finish, setting the stage for a successful melamine cabinet makeover.
Step-by-Step Painting Process
When embarking on the project of how to paint melamine cabinets, having a clear, methodical process is key to ensuring a flawless finish. After completing all necessary preparation steps, including cleaning, sanding, and priming your cabinets, you’re now ready to begin the actual painting process.

Applying the First Coat of Paint
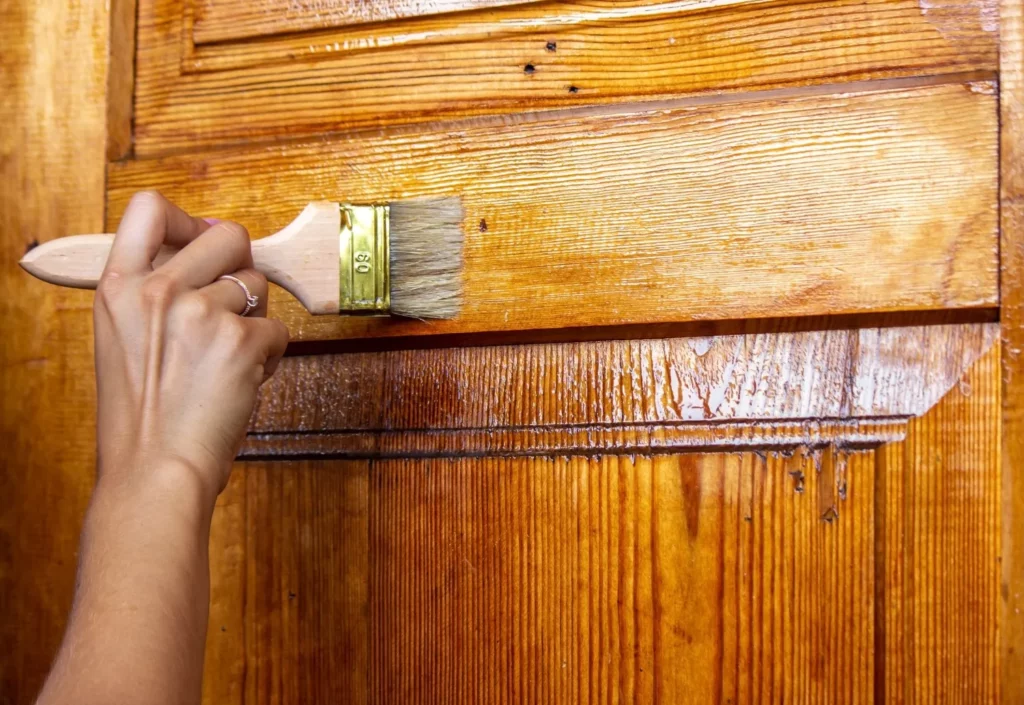
Before diving into painting, ensure your cabinets are clean, dry, and properly primed. Use a high-quality brush or roller to apply the first coat of paint evenly across the surface. Start with the cabinet doors, working from top to bottom, and then move on to the cabinet frames. Allow the first coat to dry completely before proceeding.
Sanding Between Coats for a Smooth Finish
Once the first coat has dried, lightly sand the surface using fine-grit sandpaper. This step helps to smooth out any imperfections, such as brush strokes or drips, and promotes better adhesion for subsequent coats of paint. Wipe away any dust with a tack cloth before applying the next coat of paint.
Applying Subsequent Coats for Coverage
Repeat the process of applying paint coats and sanding between each layer until you achieve the desired coverage and color intensity. Depending on the paint and application method, you may need two or more coats to achieve full coverage and a uniform finish. Be patient and allow each coat to dry fully before sanding and applying the next.
Adding Decorative Finishes or Effects (Optional)
For those looking to add extra flair to their cabinets, consider incorporating decorative finishes or effects. This could include techniques such as distressing, antiquing, or adding glazes for depth and texture. Experiment with different methods to achieve the desired aesthetic, but remember to practice on a sample piece before applying it to your cabinets.
Applying Primer and Paint
Begin the transformation by rolling on your high-adhesion primer with a foam roller to achieve an even base layer. Use a fine-bristled brush for tight corners and edges, ensuring full coverage without leaving brush strokes. After the primer has fully dried, according to the product’s specific drying time, proceed with the first coat of paint. Aim for light, uniform layers, employing the same foam roller for consistency. If a second coat is necessary, lightly sand between applications to eliminate any imperfections, always waiting for the paint to dry completely before adding another layer. This meticulous application process is crucial for an enduring, smooth finish on your melamine cabinets.

Sealing and Protecting Your Newly Painted Cabinets
To elevate the durability of your cabinet’s new paint job, consider the application of a clear polyurethane sealer. This step is particularly advantageous for cabinets situated in areas prone to high traffic or moisture, safeguarding against potential damage and wear. Carefully follow the manufacturer’s instructions for application, making sure to apply in a well-ventilated area. Allow the sealer ample time to dry thoroughly before proceeding with the reassembly of your cabinets. This protective layer not only extends the life of your cabinets but also maintains the vibrancy of the paint beneath, keeping your cabinets looking pristine for longer.
Adding Finishing Touches for a Professional Look
After the paint and optional sealer have thoroughly dried, it’s time to put the finishing touches on your cabinets. Carefully reattach all hardware, doors, and drawers. This is also an ideal moment to consider upgrading your hardware to refresh the overall appearance of your cabinets further. Fine-tune the alignment of doors and drawers to ensure they close smoothly and evenly, giving your cabinetry that seamless, professionally finished appearance that elevates the entire room. These final adjustments are crucial for achieving the polished look that complements your hard work and attention to detail throughout the painting process.
Top Coat for Lasting Results
To ensure the longevity and durability of your newly painted melamine cabinets, applying a top coat is essential. This is particularly important when learning how to paint melamine bathroom cabinets, as the high moisture environment can affect the paint’s durability. Opt for a high-quality polyurethane sealer designed for use over painted surfaces. Apply it in thin, even layers, allowing sufficient drying time between coats. This top coat will act as a protective barrier against scratches, moisture, and wear, ensuring that your cabinets maintain their fresh, vibrant appearance for years to come.

Maintenance Tips
To keep your painted melamine cabinets in top condition, it’s crucial to address messes promptly. For routine cleaning, opt for a soft cloth paired with a mild, non-abrasive cleaning solution to prevent surface scratches. Ensure the longevity of your cabinet’s functionality and appearance by periodically inspecting and tightening any loosened hardware. These simple but effective practices will help maintain the fresh, vibrant look of your cabinets and allow you to enjoy the fruits of your DIY project for many years.
Brilliant Brush Paint for Melamine Magic
When undertaking the project of how to paint melamine cabinets, choosing the right paint is crucial for achieving long-lasting, professional-looking results. Brilliant Brush Paint offers a range of high-quality paints specifically formulated for melamine surfaces, ensuring your cabinets receive the durable, smooth finish they deserve. Our products are designed to adhere strongly to melamine, reducing the risk of peeling or chipping and making your DIY renovation a success. Trust Brilliant Brush Paint as your partner in transforming your space with beautifully painted melamine cabinets.