When it comes to adding color and protection to your wooden surfaces, there’s no better option than a quality stain. But with so many different types and brands on the market, it can be overwhelming to choose the right one for your specific project. That’s where we come in. At Brilliant Brush Painting, we are passionate about all things painting and are here to guide you through the process of choosing the perfect stain for your wooden surfaces. Keep reading for our comprehensive guide to staining 101.
Understanding Wood Stains and Their Purpose
Wood stains are more than just a way to add color to your wooden surfaces; they also serve an important protective purpose. A wood stain penetrates the surface of the wood, enhancing its natural beauty while also providing a layer of defense against UV rays, moisture, and other elements that can cause damage over time.
By deeply saturating the wood, stains help to prevent warping, cracking, and fading. Additionally, wood stains can also highlight the natural grain and texture of the wood, adding depth and character to your surfaces. Understanding the purpose of wood stains will help you make an informed decision when selecting the right stain for your project.
The Selection Process: Key Factors to Consider When Choosing Wood Stains
When it comes to selecting the right stain for your wood surfaces, there are several key factors to consider. Taking the time to think about these factors will ensure that you choose a stain that not only enhances the natural beauty of the wood but also meets your specific needs and preferences. Here are some key factors to consider during the selection process:
Color:
The color of the stain is perhaps one of the most important factors to consider. Think about the overall aesthetic of your space and what color will complement it best. Do you want a stain that matches the existing wood tone or one that adds a contrasting pop of color? Consider the mood and atmosphere you want to create in the room and choose a stain color that aligns with that vision.
Transparency:
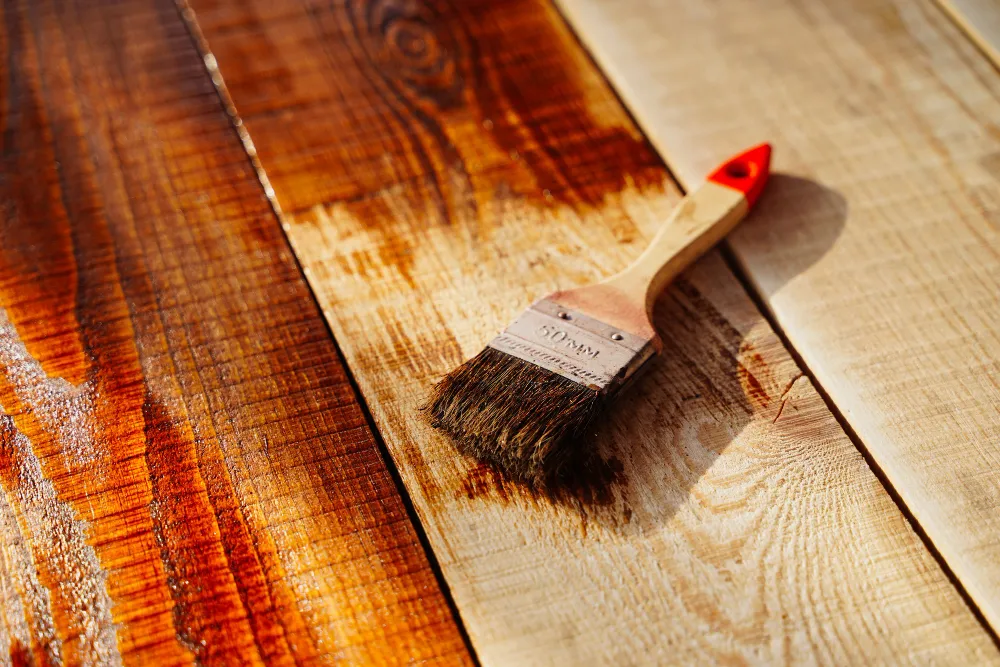
Stains come in a range of transparency levels, from transparent to semi-transparent to opaque. Transparent stains allow the natural beauty of the wood grain to show through, while opaque stains provide a solid, uniform color. Think about how much of the wood grain you want to be visible and choose a stain with the appropriate transparency level.
Durability:
Different stains offer varying levels of durability. If you are staining wood surfaces in high-traffic areas or areas prone to moisture, you will want to choose a stain that offers excellent durability and protection against wear and tear. Consider the level of durability you need and choose a stain that matches those requirements.
Ease of Application:
Some stains are easier to apply than others. If you are a beginner or have limited experience with staining, you may want to choose a stain that is known for its ease of application. Look for stains that have clear application instructions and require minimal preparation and maintenance.
Compatibility:
Finally, consider the compatibility of the stain with the type of wood surface you are working with. Some stains work better on certain types of wood than others. Take into account the characteristics of the wood, such as its hardness, porosity, and natural color, and choose a stain that is specifically designed for that type of wood.
Making It Shine: Application Tips and Techniques for Optimal Results
Making your wood surfaces shine with the perfect stain requires careful application and attention to detail. Here are some application tips and techniques to help you achieve optimal results:
Prep the surface:
Before applying the stain, it’s important to prepare the wood surface. Ensure it is clean and free of any dirt, dust, or previous finishes. Sand the surface lightly with fine-grit sandpaper to create a smooth and even texture. Clean the surface again to remove any sanding residue and allow it to dry completely.
Test the stain:
Before applying the stain to the entire surface, it’s a good idea to do a test patch in an inconspicuous area. This will allow you to see how the stain looks on your specific wood surface and make any necessary adjustments. Apply the stain according to the manufacturer’s instructions and let it dry completely before assessing the color and finish.
Apply the stain evenly:
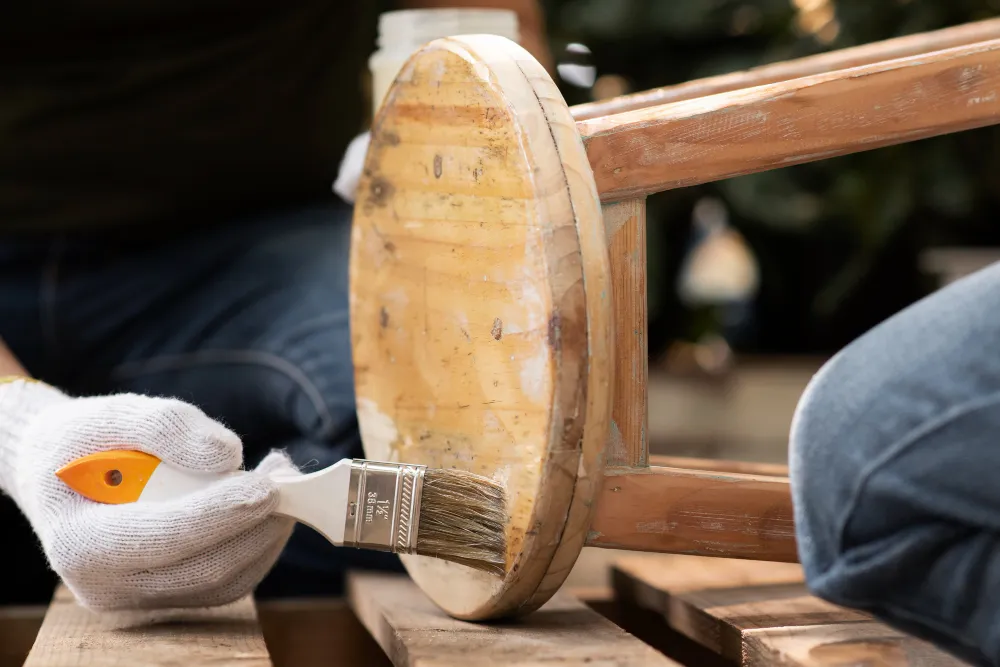
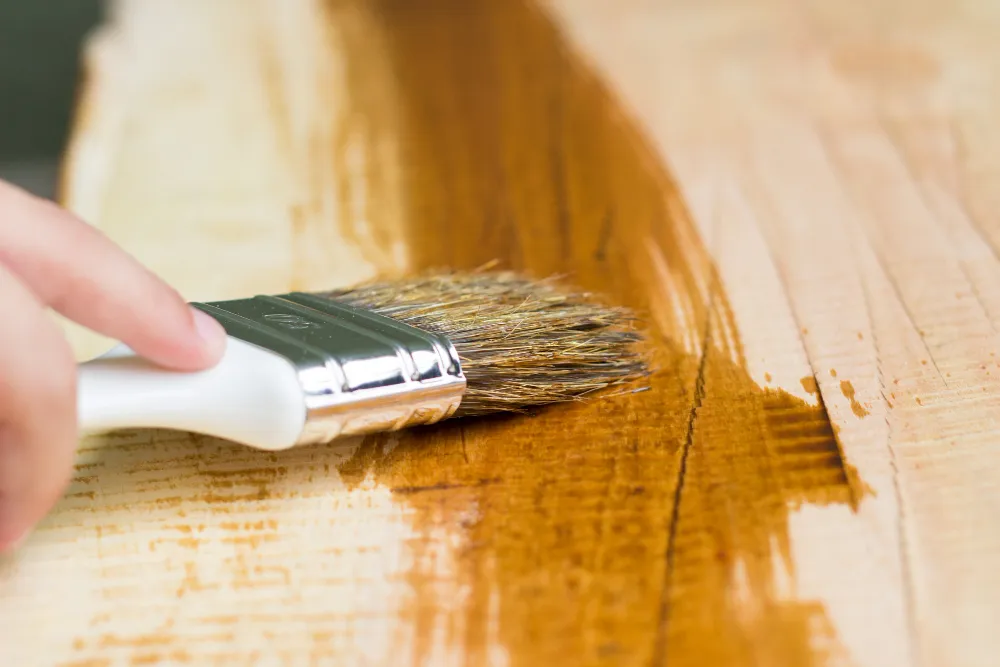
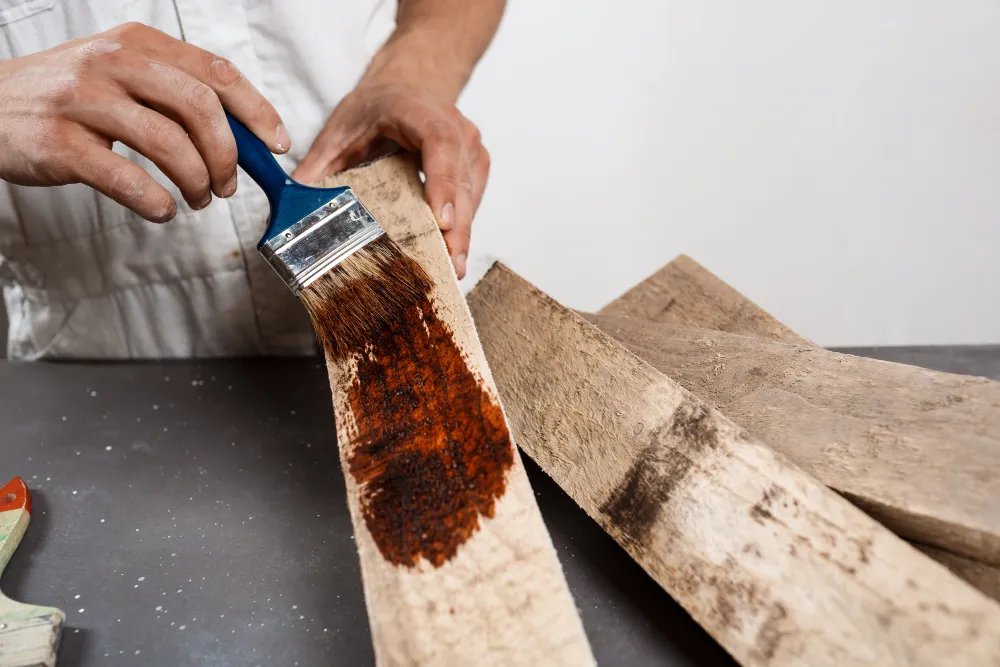
To achieve an even and consistent finish, apply the stain with a brush, sponge, or cloth in the direction of the wood grain. Avoid applying too much stain in one area, as it can result in blotches or uneven coloring. Use long, smooth strokes and work in small sections at a time, ensuring each section blends seamlessly with the previous one.
Wipe off excess stains:
After applying the stain, use a clean cloth or rag to wipe off any excess. This will help prevent a tacky or sticky finish. Be thorough in removing any pooling or excess stain, particularly in corners, crevices, and intricate details.
Allow for proper drying and curing:
Once you’ve applied the stain, allow it to dry and cure according to the manufacturer’s instructions. This is important for achieving a durable and long-lasting finish. Avoid touching or placing objects on the stained surface until it is fully cured to prevent smudging or damage.
Consider multiple coats:
Depending on the desired color and depth, you may need to apply multiple coats of stain. Allow each coat to dry completely before applying the next one. This will build up the desired color intensity and enhance the richness of the finish.
Preserve Your Work: Essential Maintenance Tips for Stained Wood Surfaces
To keep your stained wood surfaces looking beautiful and to ensure their longevity, proper maintenance is crucial. Here are some essential maintenance tips to help you preserve the brilliance of your stained wood surfaces:
Regular cleaning:
Dust and debris can accumulate on stained wood surfaces, dulling their appearance. To keep them looking their best, make sure to dust or gently wipe down the surfaces regularly using a soft cloth or microfiber duster. Avoid using abrasive cleaners or rough materials that can scratch the stain.
Avoid water damage:
Stained wood surfaces can be susceptible to water damage, which can cause the stain to fade or warp the wood. To prevent this, make sure to clean up any spills or moisture promptly. Use coasters or placemats under glasses or hot objects to protect the surface from water rings or heat damage.
Protect from sunlight:
Exposure to direct sunlight can cause the stain to fade and the wood to become discolored. To protect your stained wood surfaces from sunlight damage, use curtains, blinds, or UV-blocking window film to reduce the amount of direct sunlight that reaches the surfaces. Alternatively, you can also move furniture or accessories around periodically to prevent uneven fading.
Refinish as needed:
Over time, stains may wear down or become scratched. To restore the brilliance of your stained wood surfaces, consider refinishing them as needed. This involves lightly sanding the surface to remove any imperfections, applying a new coat of stain, and sealing it with a protective finish. Always follow the manufacturer’s instructions when refinishing stained wood surfaces.
Use furniture protectors:
To prevent scratches and dents from furniture legs or heavy objects, use furniture protectors such as felt pads or rubber stoppers. These will help distribute the weight evenly and protect the stained wood surfaces from damage.
Conclusion
In this comprehensive guide to staining your wooden surfaces, we’ve covered everything you need to know to choose the perfect stain for your specific project. From understanding the purpose of wood stains to considering important factors such as wood type, color, transparency, UV protection, and durability, we’ve provided you with the knowledge you need to make an informed decision. We’ve also explored the different types of wood stains and their best uses, giving you options to suit your needs and preferences. So go ahead, unleash your creativity, and let Brilliant Brush Painting be your trusted companion in the world of staining. Happy staining!


