Staining your deck is a crucial step in maintaining its appearance and longevity. Not only does it enhance the natural beauty of the wood, but it also provides protection against weather elements and wear and tear. However, applying a stain is not a one-time fix; it requires regular upkeep to ensure a long-lasting finish. In this blog post, we will share some essential tips for deck staining that will help you achieve a beautiful and durable finish that will stand the test of time.
Understanding the Importance of Deck Staining
Deck staining isn’t just about achieving a fresh, appealing look for your outdoor living space. It plays a significant role in protecting your deck from harmful elements like sun, rain, and snow. Think of it as a sunscreen and raincoat for your deck – an essential layer of protection that minimizes wear and tear, and extends the deck’s lifespan. And, let’s not forget the added bonus of aesthetic enhancement. A beautifully stained deck not only makes your home more inviting but also can add to its resale value. So, deck staining isn’t a luxury, but a necessary measure to ensure your deck stays attractive and durable for years to come. It’s an investment that pays for itself over time.
Choosing the Right Stain for Your Deck
Selecting the right stain for your deck is a critical decision that can impact the longevity of your deck and its aesthetic appeal. There are primarily three types of stains to consider: clear, semi-transparent, and solid. Clear stains, also known as sealers, let the natural beauty of the wood shine through but may need more frequent reapplications. Semi-transparent stains offer some color and more protection than clear stains while still revealing some wood grain. Solid stains provide the most protection and color but hide the wood grain.
Consider factors such as your deck’s age, wood type, and exposure to elements to make an informed choice. If you are unsure about which stain would be best for your deck, consulting with professional deck refinishing services can be beneficial. They can assess your deck’s unique needs and guide you towards the most suitable stain. After all, the right stain can make your deck look stunning and stand up to wear and tear, so it’s worth taking the time to choose wisely!
Proper Preparation: The Key to Successful Deck Staining
Ready to embark on your deck staining journey? Hold your horses; preparation is paramount! Ensuring your deck is well-prepped is a non-negotiable first step. This critical phase involves cleaning and smoothing the deck’s surface, creating the ideal canvas for your stain. Start by sweeping away any dirt or debris, then bring out the big guns: a wood cleaner and a stiff-bristle brush. Vigorously scrub the deck to ensure no dirt or mildew stands in your way.
If your deck has an old stain or paint, you might want to use a paint stripper before sanding it down to smoothness. These preparatory steps will ensure that the stain adheres to the surface effectively, setting the stage for a long-lasting, flawless finish. So remember, don’t rush. Invest time in proper preparation, and the results will certainly be worth the effort!
Effective Stain Application Techniques
Mastering the technique of applying deck stain can mean the difference between a good and a great finish. Let’s take a look at some proven methods that can help you achieve a professional-level result:
Start with the Right Tools:
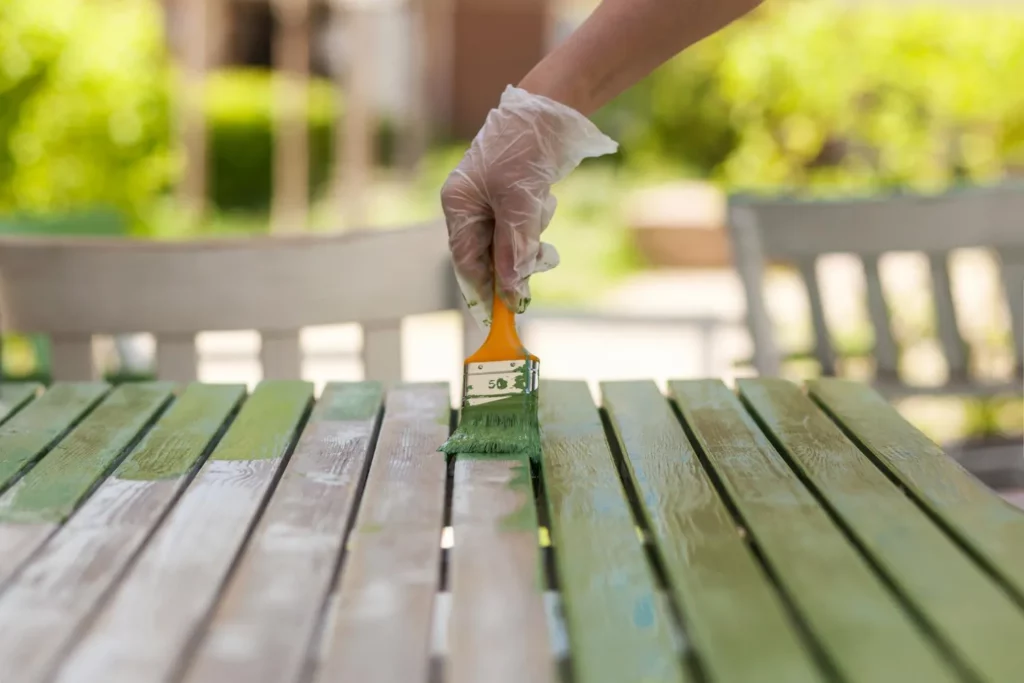
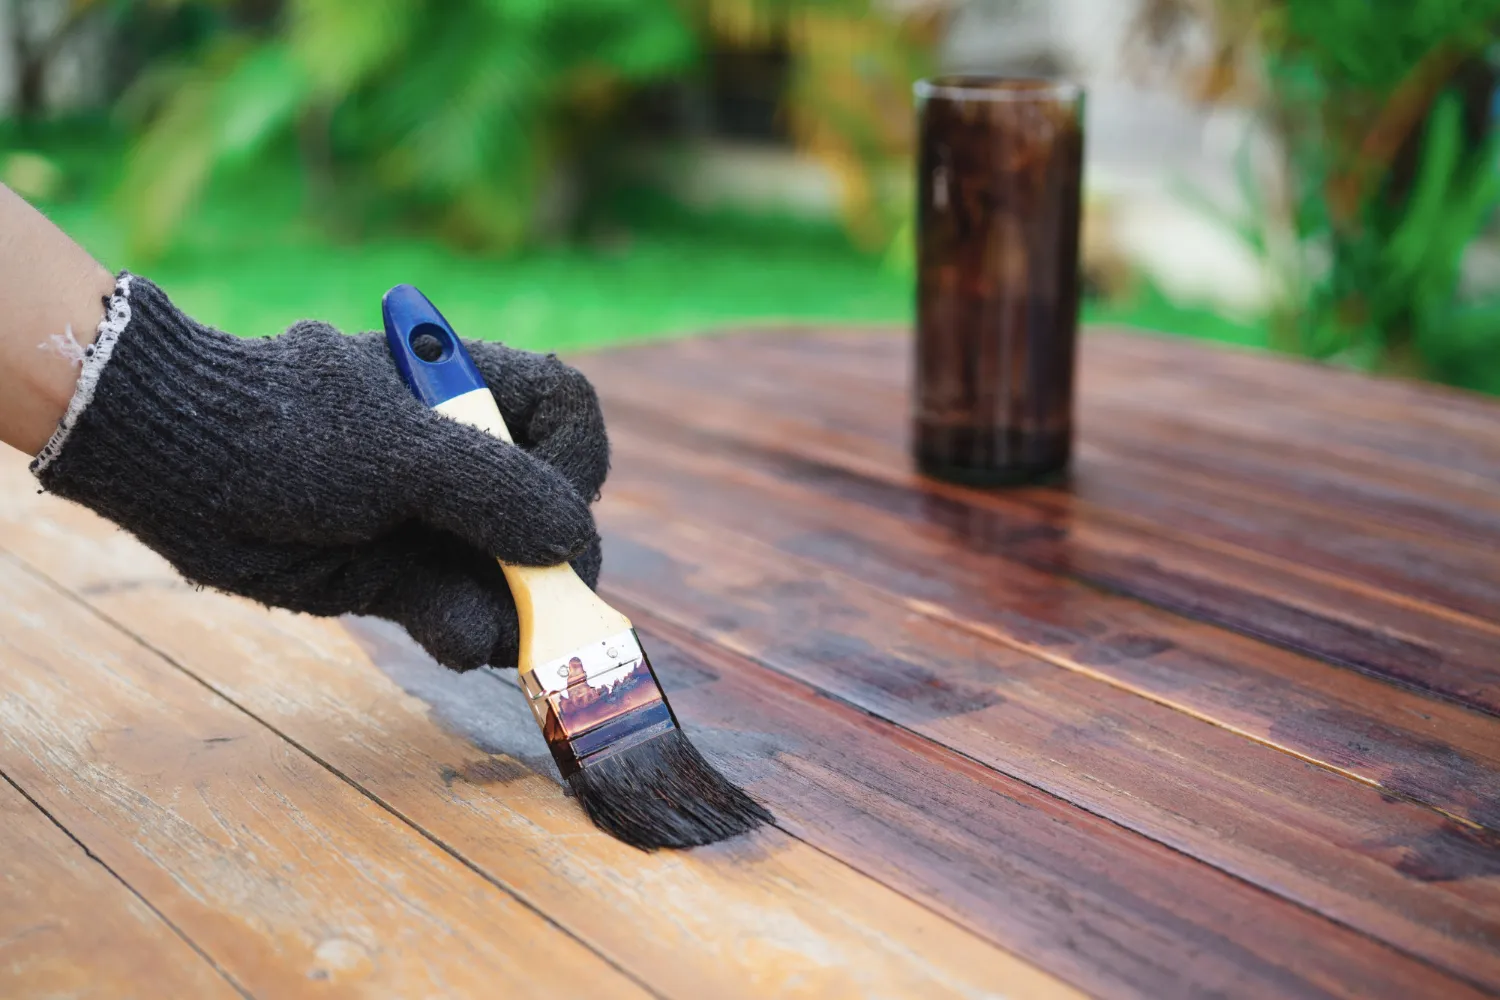
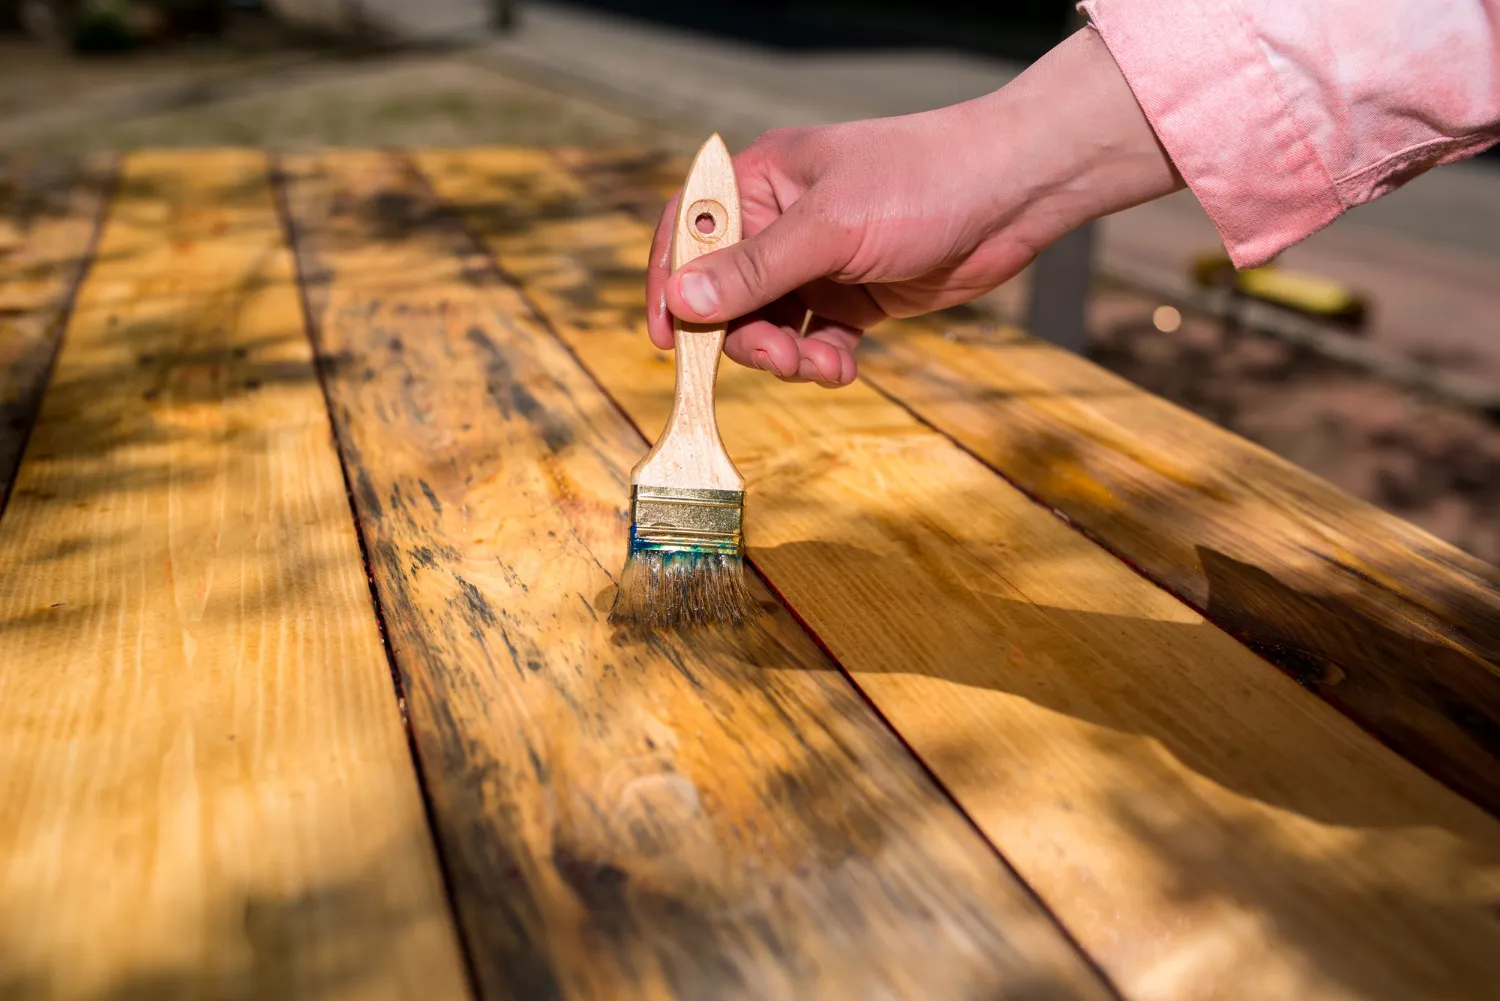
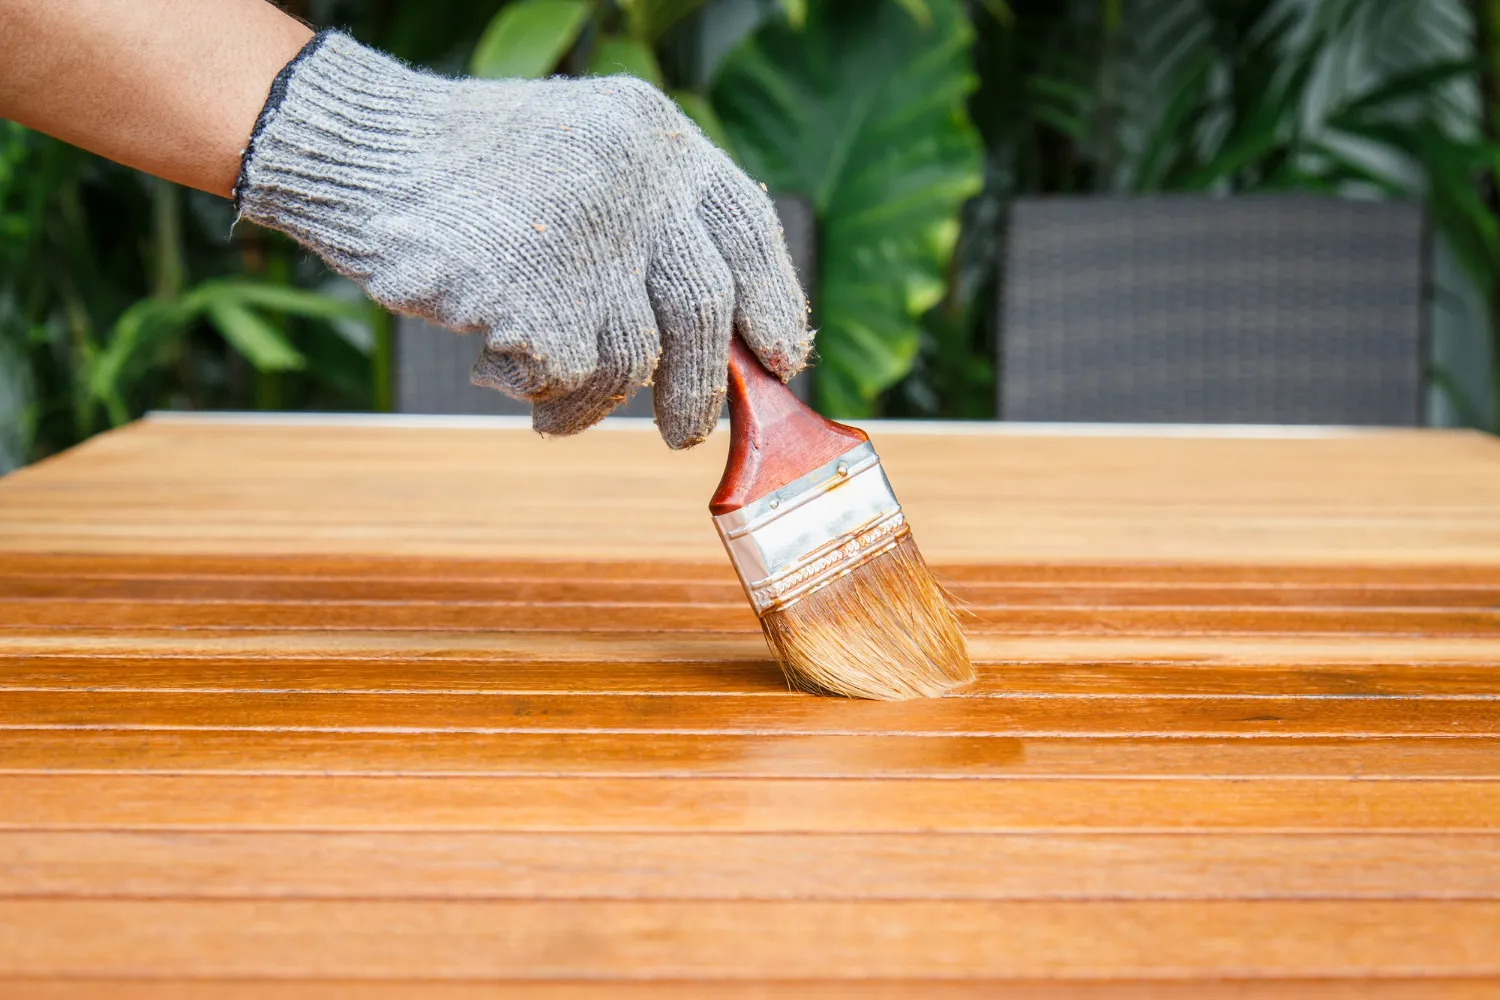
Selecting a high-quality brush or roller is essential. Brushes are ideal for working stains into small nooks and corners, while a roller can efficiently cover large, flat areas. Using a sprayer can be quick but requires careful handling to avoid over-spray.
Always Test First:
Before committing to a full application, it’s wise to test the stain on a small, inconspicuous area of your deck. This way, you can ensure the color is exactly what you had in mind and that the stain penetrates the wood effectively.
Apply Stain in Thin Coats:
Resist the temptation to apply a thick coat of stain in one go. Instead, aim for two thin coats. This will allow the stain to penetrate the wood deeply, leading to a more durable and even finish.
Work in Manageable Sections:
Tackle your deck in sections to avoid lap marks, which can occur when you allow the edge of a stained area to dry before extending it. This method ensures the stain has a uniform appearance.
Regular Maintenance for a Durable Finish
Achieving a beautiful, long-lasting deck stain is only the first part of the story. Ensuring its longevity calls for regular maintenance. Just as you wouldn’t skip your car’s oil change or neglect your home’s annual deep clean, you shouldn’t overlook deck maintenance. Below are some effective maintenance practices:
Regular Cleaning:
Sweeping your deck frequently will prevent the accumulation of leaves, dirt, and other debris that can stain or damage the wood. Additionally, consider washing your deck at least once a year to eliminate mildew and other stains.
Prompt Repairs:
Pay attention to any signs of wear and tear such as splintering wood or loose boards. Addressing these issues promptly can help prevent further damage and keep your deck looking its best.
Reapply Stain When Necessary:
Over time, even the highest quality stain will begin to fade or wear away. Regular inspections can help identify when it’s time for a touch-up or a complete re-staining.
Sealing:
Consider applying a sealer to provide an extra layer of protection against weather damage. As discussed in the ‘Top Sealers to Protect Your Deck’ section, sealers act as a shield, protecting your stain and the underlying wood.
Troubleshooting Common Staining Problems
Staining your deck can be a fulfilling DIY project, but it can come with its fair share of challenges. Thankfully, common staining problems can be easily fixed with a little know-how and elbow grease. Let’s discuss some of these challenges and how you can overcome them:
Uneven Finish:
Did your stain dry unevenly, leaving patches of light and dark? This is often due to improper application or inconsistencies in the wood. You can rectify this by sanding down the uneven spots and applying a fresh coat of stain, ensuring to spread it evenly this time.
Peeling or Flaking:
This issue arises when the stain fails to adhere to the deck surface properly. The root cause is often inadequate surface preparation, like neglecting to remove old finish or clean the deck thoroughly. To fix this, you’ll need to remove the peeling stain, thoroughly clean the deck, and reapply the stain.
Sticky or Shiny Finish:
This problem stems from over-application of the stain. When too much stain is applied, it can’t penetrate the wood and dries on the surface, resulting in a sticky and shiny finish. To correct this, remove the excess stain with a stain stripper or by sanding, and then reapply thin coats of stain, letting each coat dry before applying the next.
Avoiding Common Staining Mistakes
Avoiding mistakes is just as important as following the right procedures when staining your deck. Let’s highlight some common pitfalls and how to steer clear of them:
Ignoring Weather Conditions:
Staining under the blazing sun can cause the stain to dry too quickly, leading to an uneven finish. Likewise, staining in cold or damp conditions can prevent the stain from adhering correctly. Always check the weather forecast before you begin and try to stain on a dry, mild day.
Neglecting Wood Moisture:
Even if the weather is clear, your deck could still be holding moisture. Using a moisture meter to ensure the wood is sufficiently dry before staining is a smart move.
Skimping on Prep Work:
As mentioned in the ‘Proper Preparation’ section, preparing the deck surface is vital. Skipping or rushing this step can lead to a flawed finish that might peel or flake prematurely.
Over-Applying Stain:
Too much of a good thing can be bad. Over-applying stain can lead to a sticky, shiny finish, as excess stain sits on top of the wood instead of penetrating it. Stick to thin coats and let each layer dry before applying the next.
Conclusion
Achieving a long-lasting finish on your deck requires a combination of proper preparation, careful stain selection, correct application, and diligent maintenance. By avoiding common staining mistakes and responding promptly to issues, you can help your deck stand the test of time. Keep in mind that staining your deck is not just about aesthetics but is a crucial part of protecting your investment. Don’t hesitate to contact us for professional services if you need assistance. We’re here to help you enjoy your deck for many seasons to come. Remember, a well-maintained deck is a sign of a well-maintained home!


