Painting a room can be a transformative experience, giving your space a fresh, vibrant look. However, achieving a flawless finish requires more than just selecting the perfect color and grabbing a paintbrush. Proper wall preparation is the key to a successful painting project.
Our Guide
In this comprehensive guide, we’ll walk you through the essential steps to prepare your walls for painting like a pro.
Assessing the Condition of Your Walls
Before diving into painting, it’s important to assess the condition of your walls. Look for any cracks, holes, or uneven surfaces that may need repair. Check for any signs of moisture or mold, as these issues should be addressed before painting. Taking the time to evaluate your walls will ensure that you have a smooth and flawless surface to work with, resulting in a professional-looking paint job.
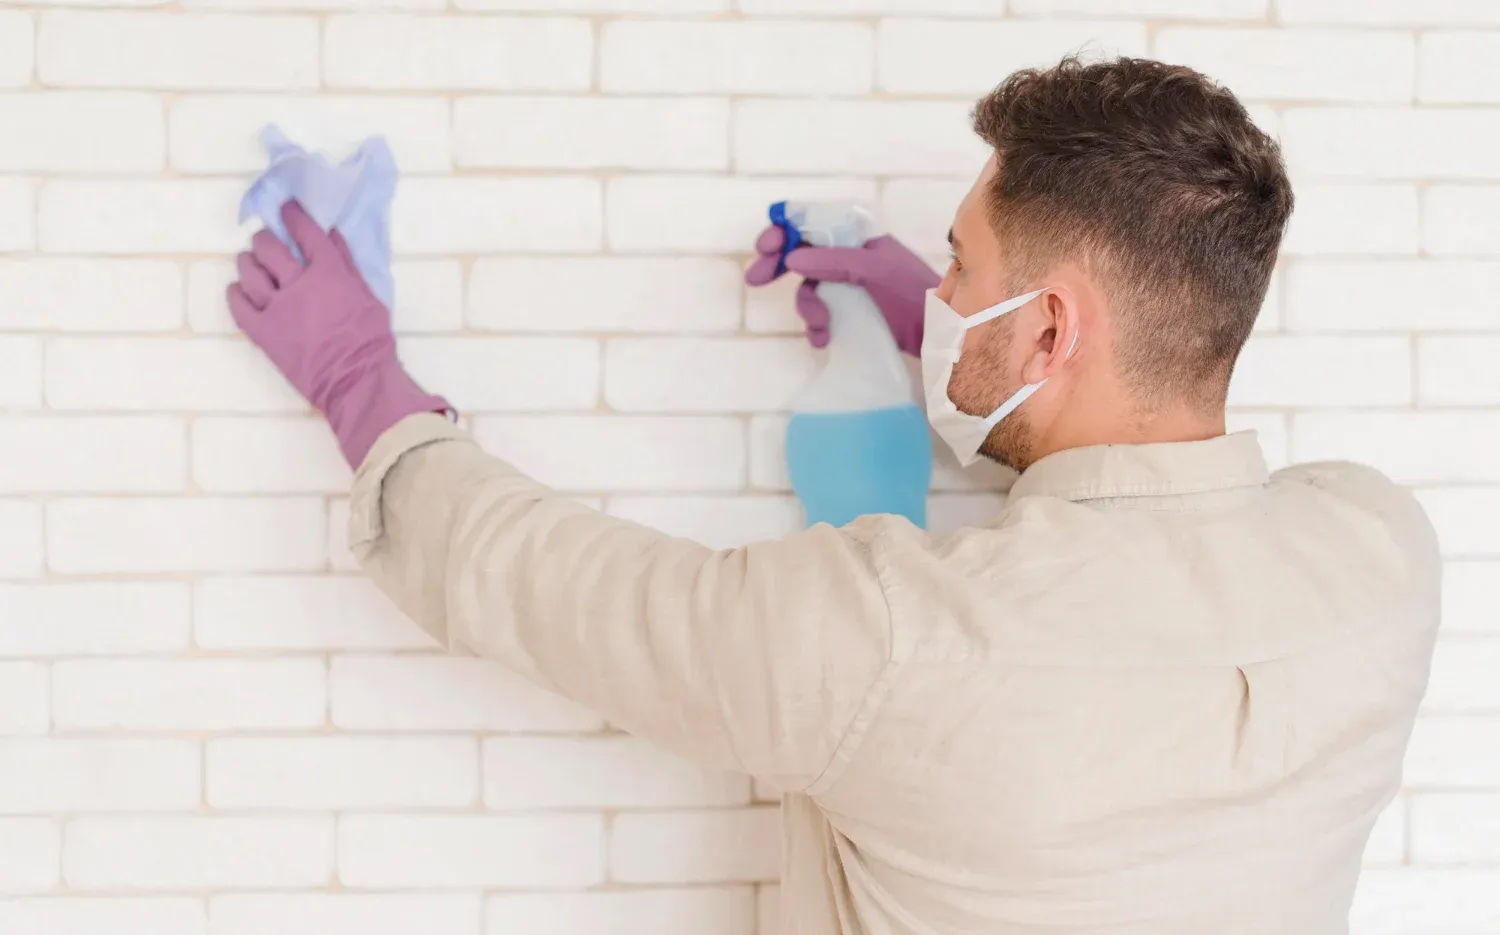
Cleaning the Walls
Now that you have assessed the condition of your walls, it’s time to give them a thorough cleaning. Cleaning the walls is an essential step in prepping them for paint because it ensures that any dirt, grease, or grime is removed. Use a mild detergent and warm water to gently scrub the walls, being careful not to damage the surface.
Pay extra attention to areas that may be prone to collecting dust or fingerprints, such as around light switches and doorknobs. Once the walls are clean, rinse them with fresh water and allow them to dry completely before moving on to the next step.
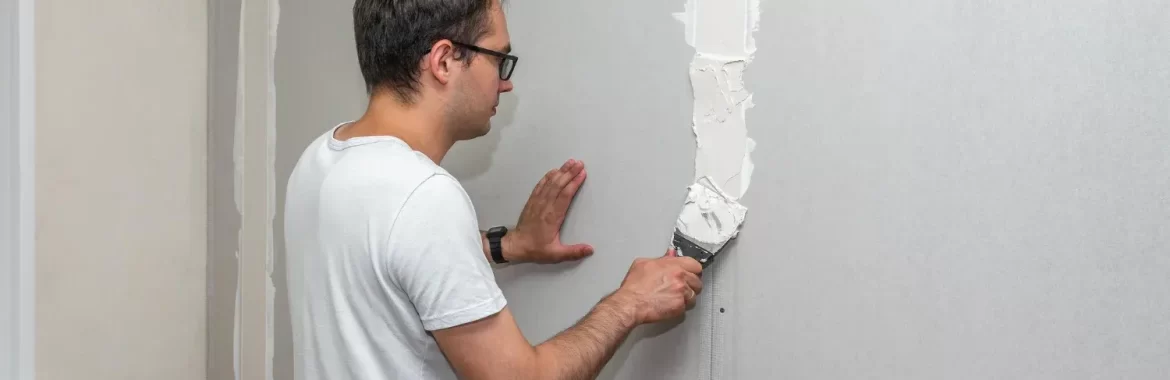
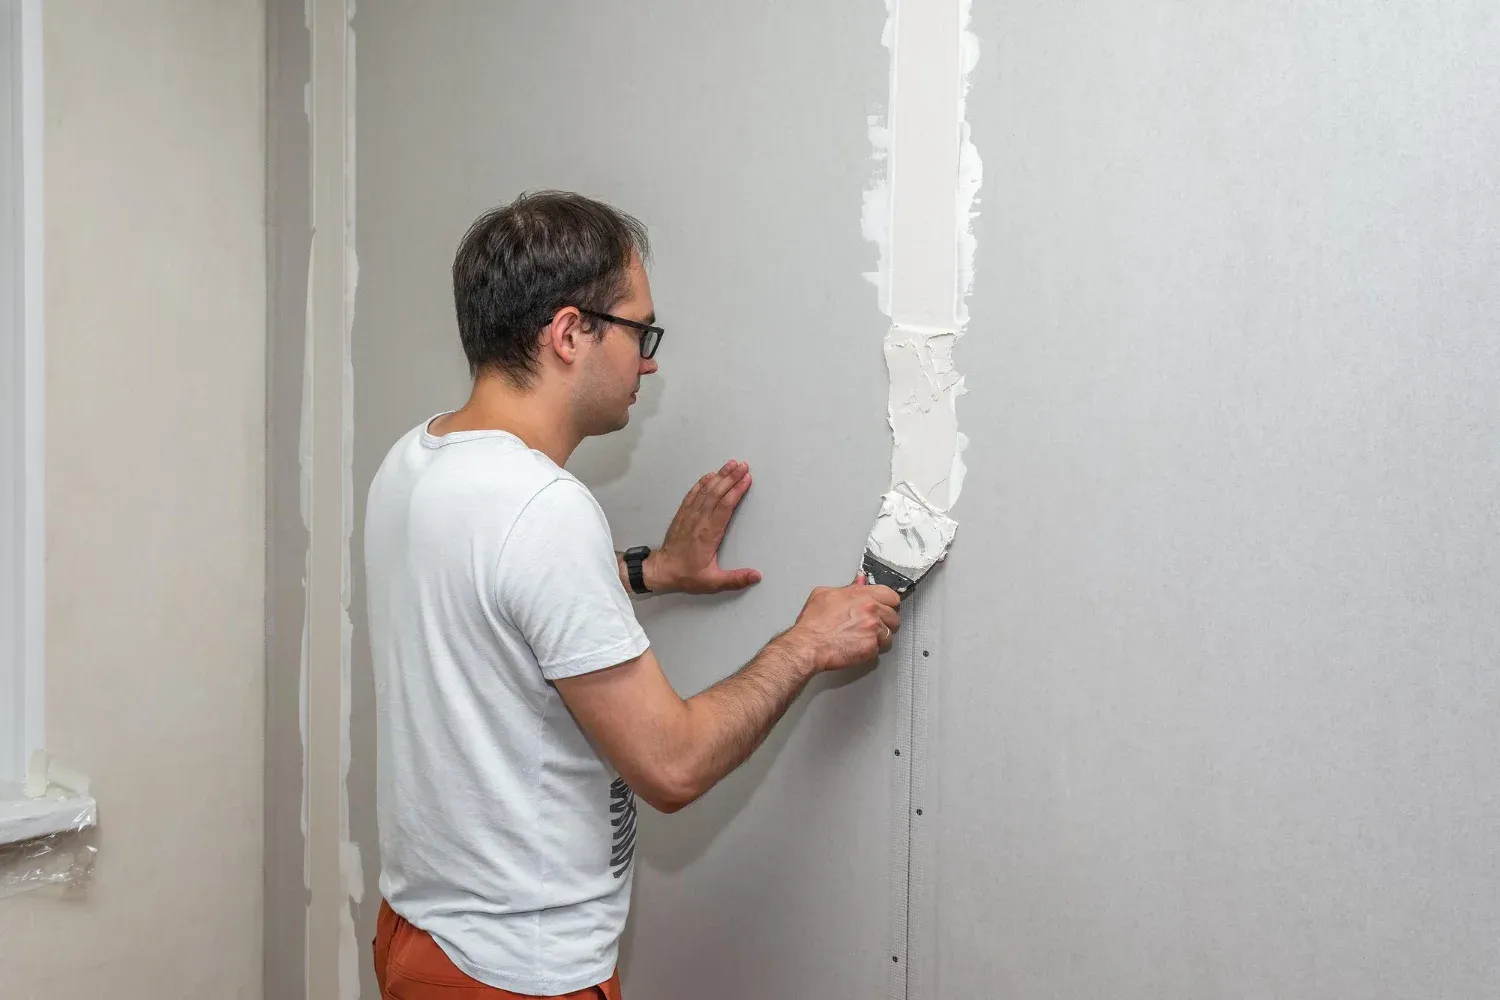
Repairing Any Damages
Repairing any damages is a crucial step in preparing your walls for painting. Whether it’s filling in cracks and holes or patching up damaged areas, this step ensures a smooth surface for your paint to adhere to. Use a spackling compound or putty knife to fill in any imperfections, then sand them down until they’re flush with the rest of the wall.
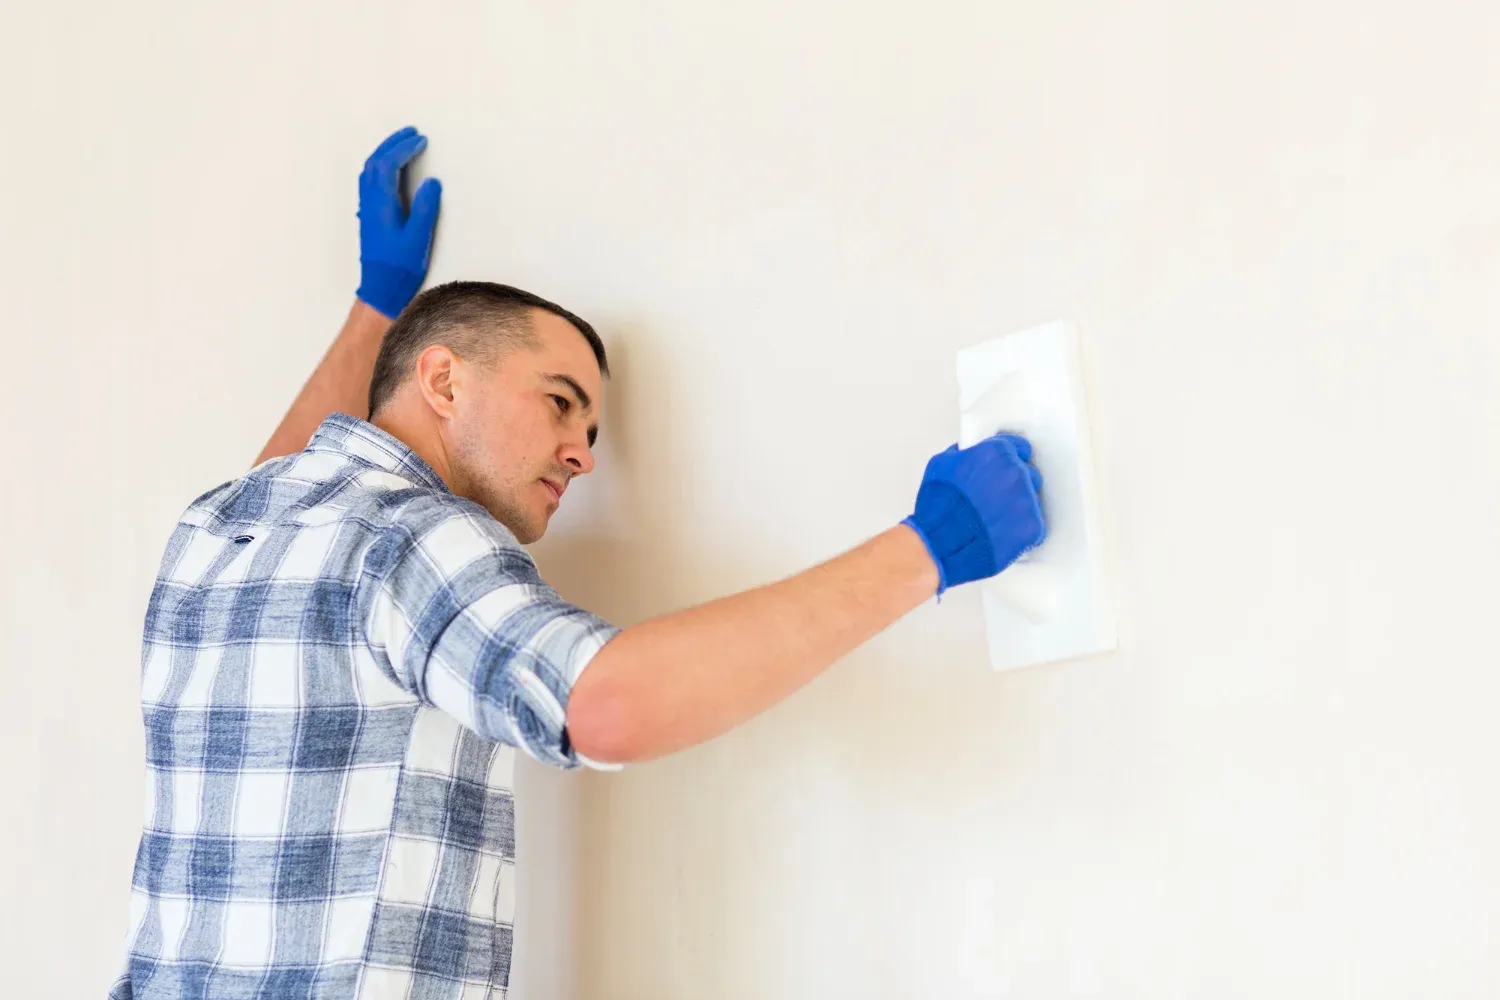
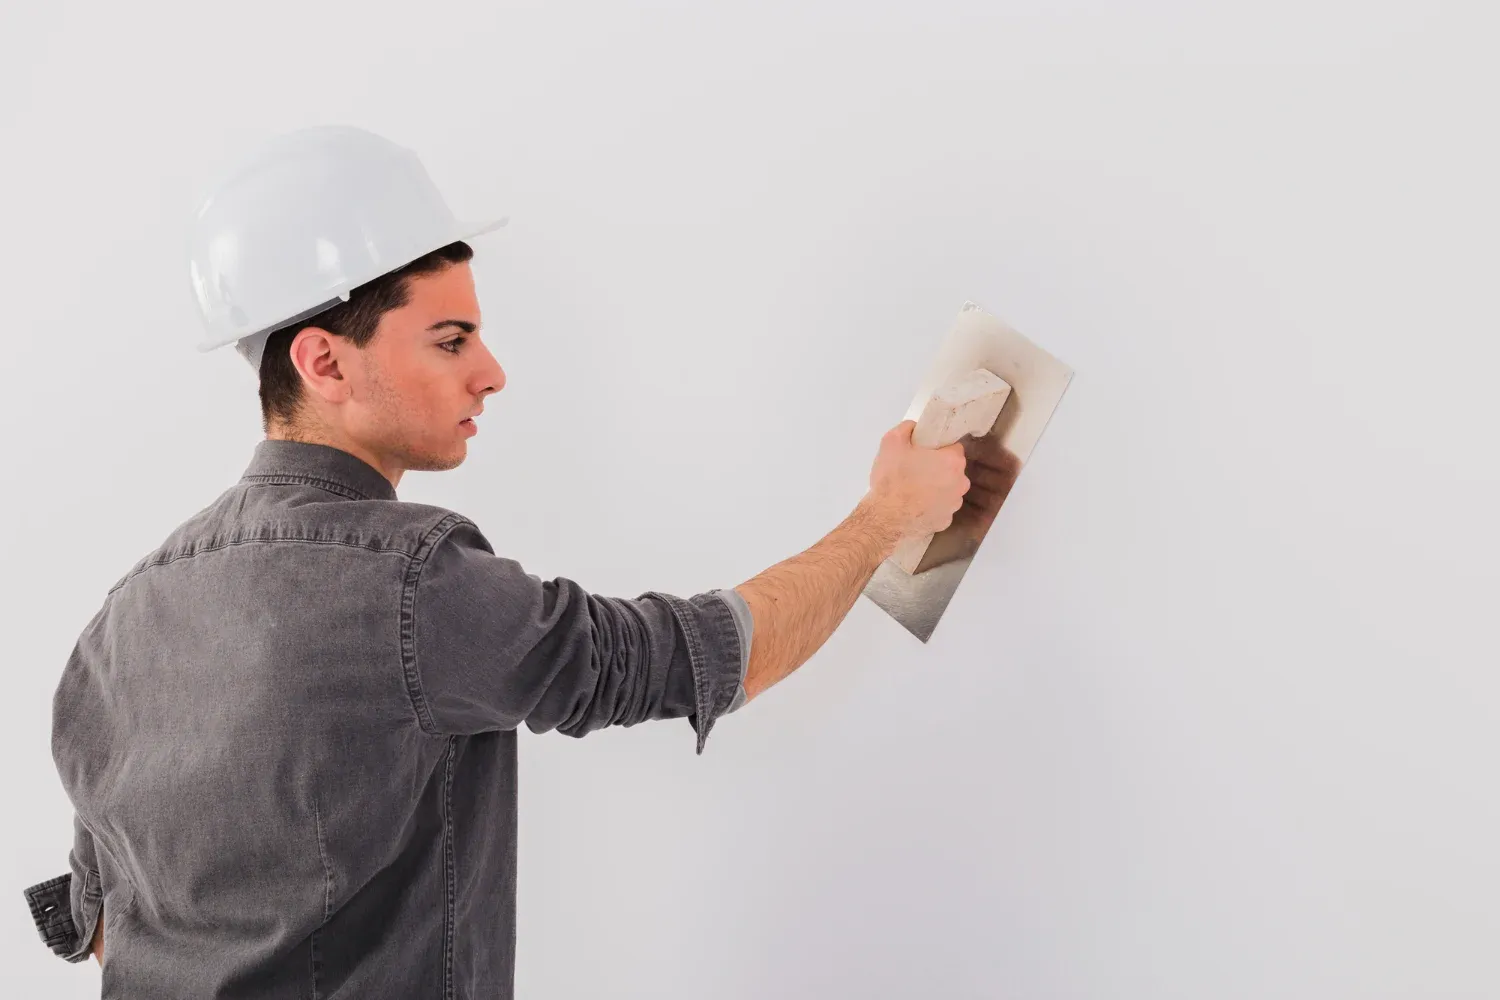
Sanding the Walls
To achieve a smooth and flawless paint finish, sanding the walls is a crucial step. Sanding helps to remove any imperfections or roughness, allowing the paint to adhere better and create a more even surface. Use a sanding block or sandpaper to gently smooth out any uneven areas, focusing on any patched or repaired spots. Remember to wipe away any dust with a damp cloth before moving on to the next step.
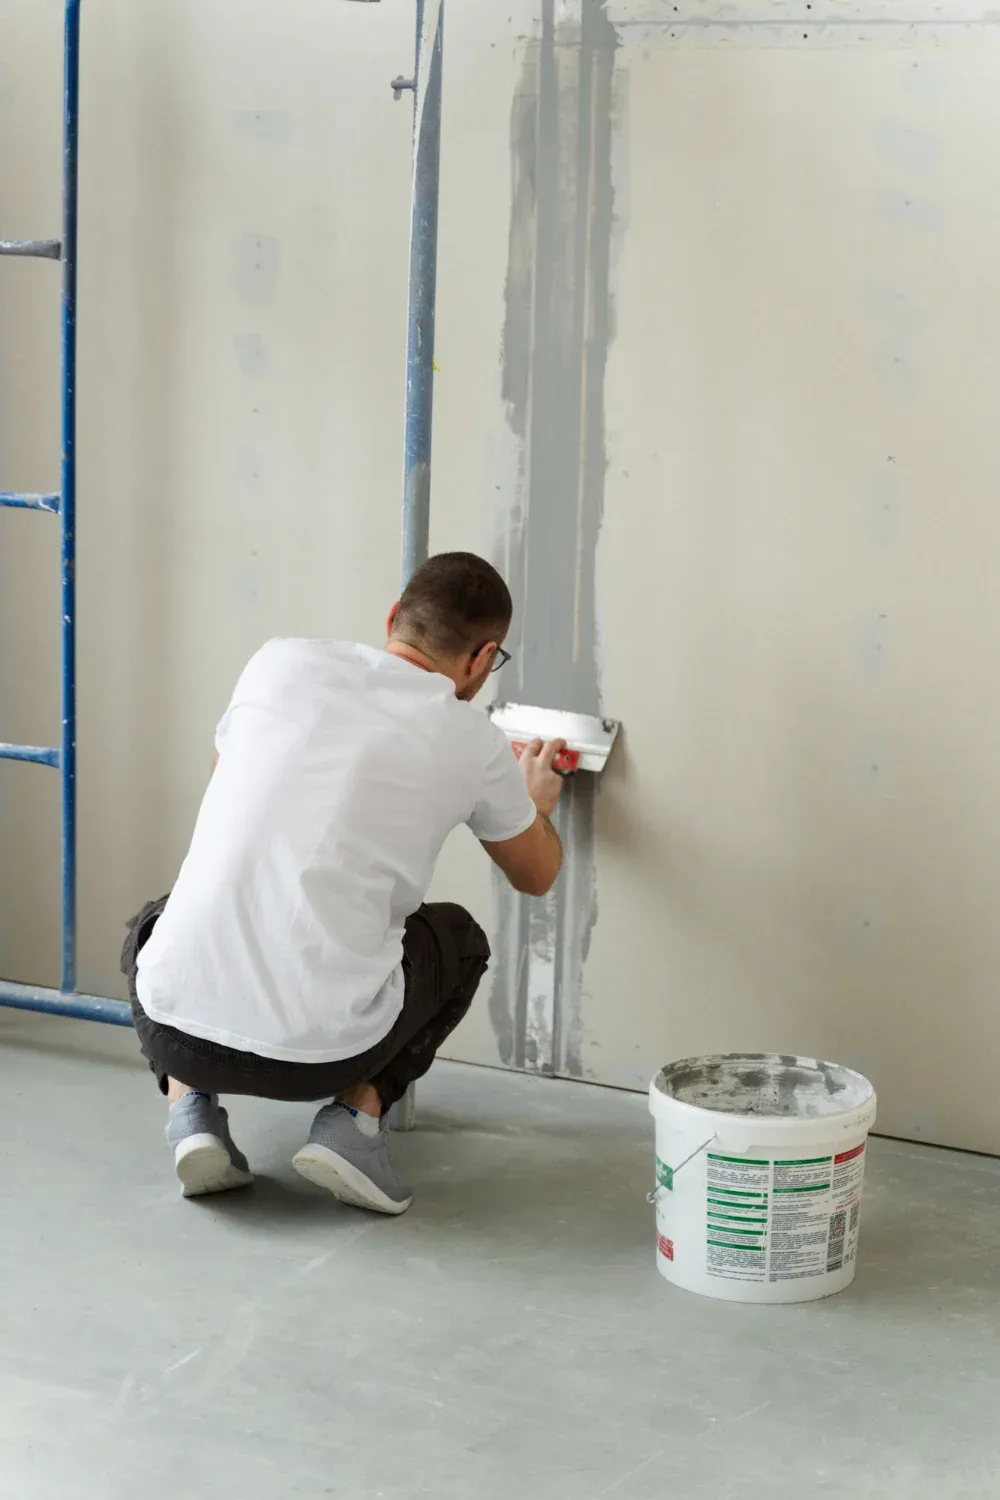
Applying Primer to the Walls
Now that you have prepared your walls by assessing their condition, cleaning them, repairing any damages, and sanding them, it’s time to apply primer. Primer is essential because it creates a smooth surface for the paint to adhere to, ensuring better coverage and durability. Choose a primer that is suitable for your wall surface, whether it’s drywall, plaster, or wood. Apply the primer evenly with a brush or roller, making sure to cover the entire surface. Allow the primer to dry completely before moving on to the next step.
Caulking and Sealing the Gaps
To achieve a professional-looking paint job, it’s important to caulk and seal any gaps or cracks in your walls. Caulking helps to create a seamless and smooth surface, preventing paint from seeping into those gaps and ruining the finish. Use a caulk gun and high-quality caulk to fill in any visible gaps around baseboards, trim, or crown molding. Smooth the caulk with a putty knife or your finger, and wipe away any excess.
Choosing the Right Paint Finish
Choosing the right paint finish is crucial to achieving the desired look and feel for your walls. Consider factors such as the level of durability, ease of cleaning, and the overall aesthetic you want to create. Matte finishes provide a smooth, non-reflective look, while satin finishes offer a subtle sheen and are easier to clean. Semi-gloss and high-gloss finishes provide a glossy and durable surface but may highlight imperfections.
Preparing the Room for Painting
Once you have prepped your walls for painting, it’s time to prepare the room itself. Start by removing furniture, covering the floors with drop cloths, and protecting any fixtures or hardware with painter’s tape. Take the time to carefully plan out your painting process, ensuring that you have all the necessary tools and supplies within reach. This will help make your painting experience smoother and more efficient.